


 Wings
Wings Racing Tribal
 Flames
 Barbecue BBQ
 Body Building
 Dive Scuba sports
 Fishing Lures
 Martial Arts
 Martial Hieroglyph
 Paintball
 Sailing
 Surf
Surf Farm Birds
 Farm Mammals
 Mammals
 Birds
Birds Insects
 Reptiles
 Snakes
 Fishes Fresh Water
 Fishes Salt Water
 Dolphins
 Tuna
Tuna Sharks
 Dragons
 Monsters
 Zombies
 Alien UFO
Uncategorized
How to Apply Stickers
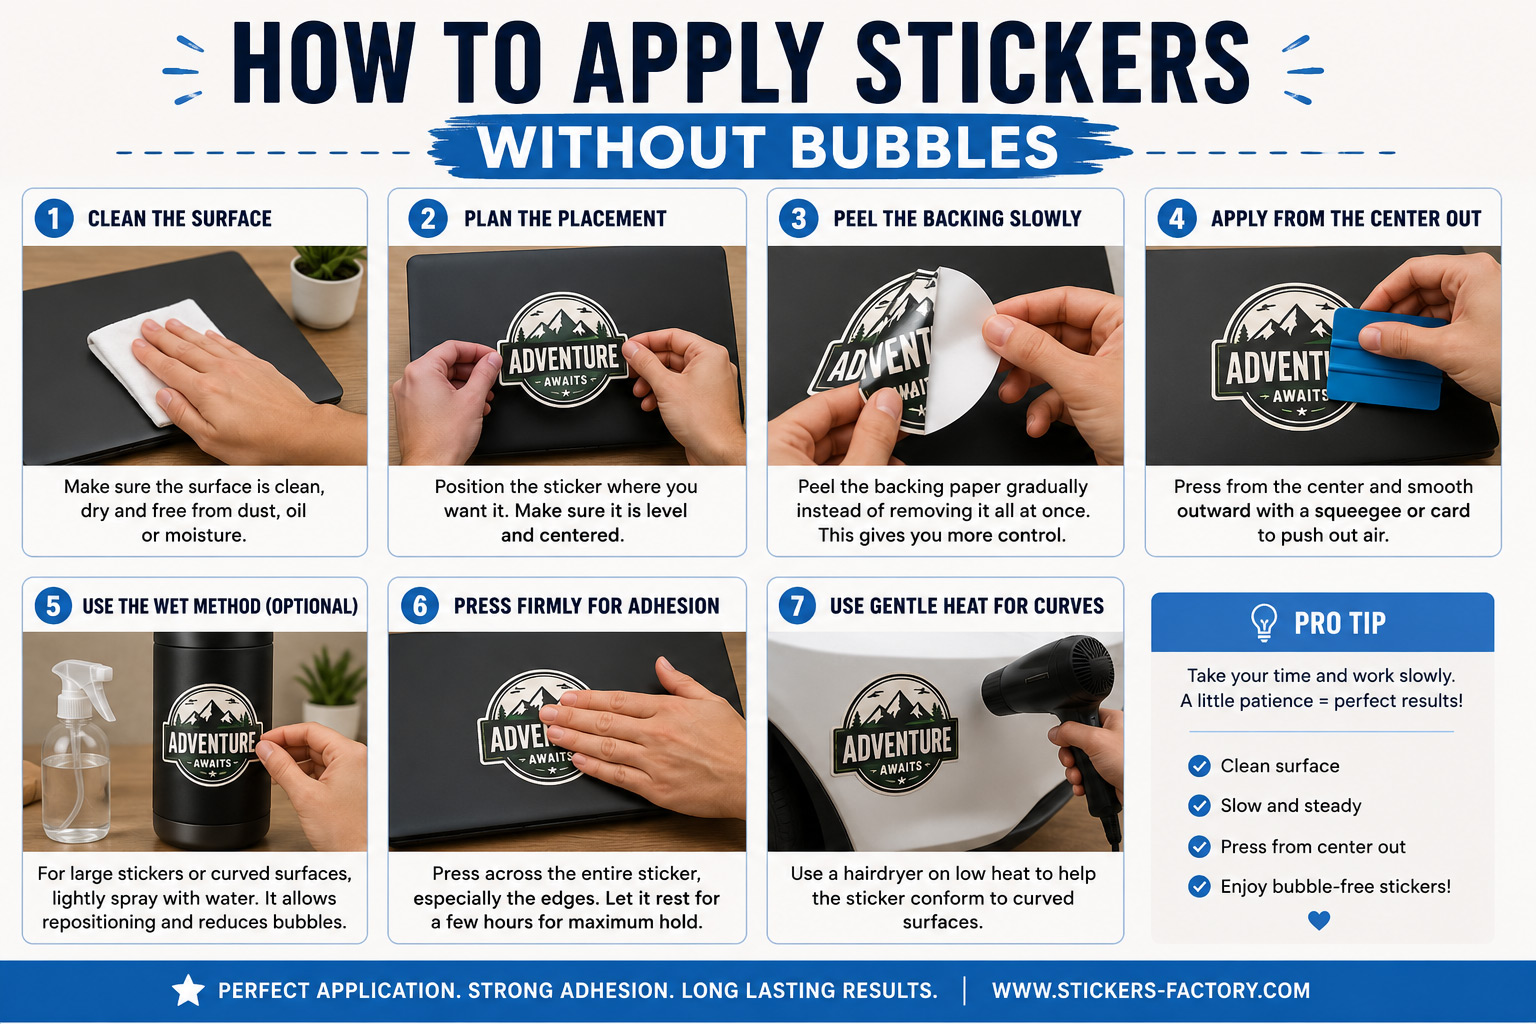
7 Easy Steps: How to Apply Stickers Without Bubbles
Learning how to apply stickers correctly can make a huge difference in the final result. A clean application helps your stickers look professional, last longer, and stay free from bubbles, wrinkles, or lifting edges.
Whether you are applying small decals, large vinyl stickers, laptop stickers, bottle labels, car decals, or packaging stickers, the process is simple when you follow the right steps.
How to Apply Stickers Without Bubbles
If you want to know how to apply stickers without bubbles, the secret is preparation, slow application, and firm pressure. The cleaner the surface and the slower you apply the sticker, the better the final result will be.
1. Clean the Surface
Always start with a clean, dry, and smooth surface. Remove dust, oil, moisture, fingerprints, or any dirt before applying the sticker. A dirty surface can weaken the adhesive and create bubbles underneath the vinyl.
2. Plan the Placement
Before peeling the backing paper, place the sticker where you want it and check the alignment. Make sure it is level and centered. For larger stickers, use masking tape to hold one side in place before applying.
3. Peel the Backing Slowly
Do not remove the entire backing paper at once. Peel it slowly while pressing the sticker down at the same time. This gives you more control and helps prevent wrinkles, air pockets, and poor positioning.
4. Apply from the Center Out
Press the sticker from the center outward using a squeegee, a soft card, or your fingers. Use short and smooth strokes to push air toward the edges. This is one of the most important steps when learning how to apply stickers properly.
5. Use the Wet Method for Large Stickers
For large vinyl stickers or curved surfaces, the wet method can help. Lightly spray the surface with water and a tiny amount of mild soap. This allows you to slide and reposition the sticker before pressing it firmly into place.
6. Press Firmly for Final Adhesion
Once the sticker is positioned correctly, press firmly across the entire surface. Pay attention to the edges, because this is where lifting usually starts. Let the sticker rest for a few hours before exposing it to water, heat, or heavy use.
7. Use Gentle Heat for Curved Surfaces
If you are applying stickers on curved areas, gentle heat from a hairdryer can help the vinyl become more flexible. Warm the sticker slightly and press it carefully so it follows the shape of the surface.
Common Mistakes When Applying Stickers
One of the most common mistakes is rushing the process. If the surface is dusty, wet, or oily, the adhesive will not bond properly. Another mistake is removing the full backing paper too early, especially with large decals.
Avoid applying stickers on rough, dirty, or textured surfaces. These surfaces can reduce adhesion and may cause the sticker to peel around the edges over time.
Best Surfaces for Sticker Application
Stickers work best on clean, smooth, and non-porous surfaces such as glass, metal, plastic, laptops, bottles, cars, windows, and smooth packaging. High-quality custom stickers are designed to adhere strongly when the surface is properly prepared.
For long-lasting results, especially outdoors, choose durable vinyl stickers. Vinyl is a flexible material often used for decals because it can resist moisture better than paper-based alternatives. You can also learn more about vinyl material.
How to Fix Small Air Bubbles
If small bubbles appear after application, do not panic. In many cases, tiny bubbles disappear naturally after a few days. For larger bubbles, gently push the air toward the nearest edge using a soft card.
If the bubble does not move, you can carefully make a tiny hole with a fine needle and press the air out. Do this slowly to avoid damaging the design.
Final Tips for a Professional Finish
If you want to master how to apply stickers like a professional, take your time and avoid rushing. Clean the surface well, apply slowly, press from the center outward, and let the adhesive bond properly.
With the right technique, your stickers will look cleaner, last longer, and give your products, packaging, vehicles, laptops, or personal items a high-quality finish.
